Creating an image (AMI)
A popular way for launching applications in EC2 is to use immutable infrastructure. This means that instead of creating a VM, launching it and then copying the application we can instead “bake” the application in the VM image itself and launch it as is.
The benefits are:
- Faster instances launches from images versus setting up an machine from the scratch
- Lock-down of an application version
- Knowing exactly what is in a running instance based on an image
- Fast cloning of an existing image
To perform this baking process we will use the Packer open source project. Packer can create an image (AMI in the case of AWS) and also include the application in it. We will go through steps manually first to explain it and will automate by the end of this module.
Manually build an AMI
You can find the example application at GitHub. The packer file that we will use is the following:
packer {
  required_plugins {
    amazon = {
      version = ">= 1.2.5"
      source  = "github.com/hashicorp/amazon"
    }
  }
}

data "amazon-ami" "ubuntu-example" {
  filters = {
    name                = "ubuntu/images/*ubuntu*"
    root-device-type    = "ebs"
    virtualization-type = "hvm"
    architecture        = "x86_64"
  }
  most_recent = true
  owners      = ["amazon"]
  region      = "us-east-1"
}

source "amazon-ebs" "ubuntu-example" {
  ami_description = "Packer example in AWS"
  ami_name        = "kostis-demo"
  instance_type   = "t1.micro"
  region          = "us-east-1"
  source_ami      = "${data.amazon-ami.ubuntu-example.id}"
  ssh_username    = "ubuntu"
}

build {
  sources = ["source.amazon-ebs.ubuntu-example"]

  provisioner "file" {
    destination = "sample"
    source      = "sample"
  }

}
For more information on how to use packer with AWS see the official documentation.
You can manually build an image with:
	packer init .
	packer build aws-packer-example.pkr.hcl
If you visit your AWS Console you should now see your new image:
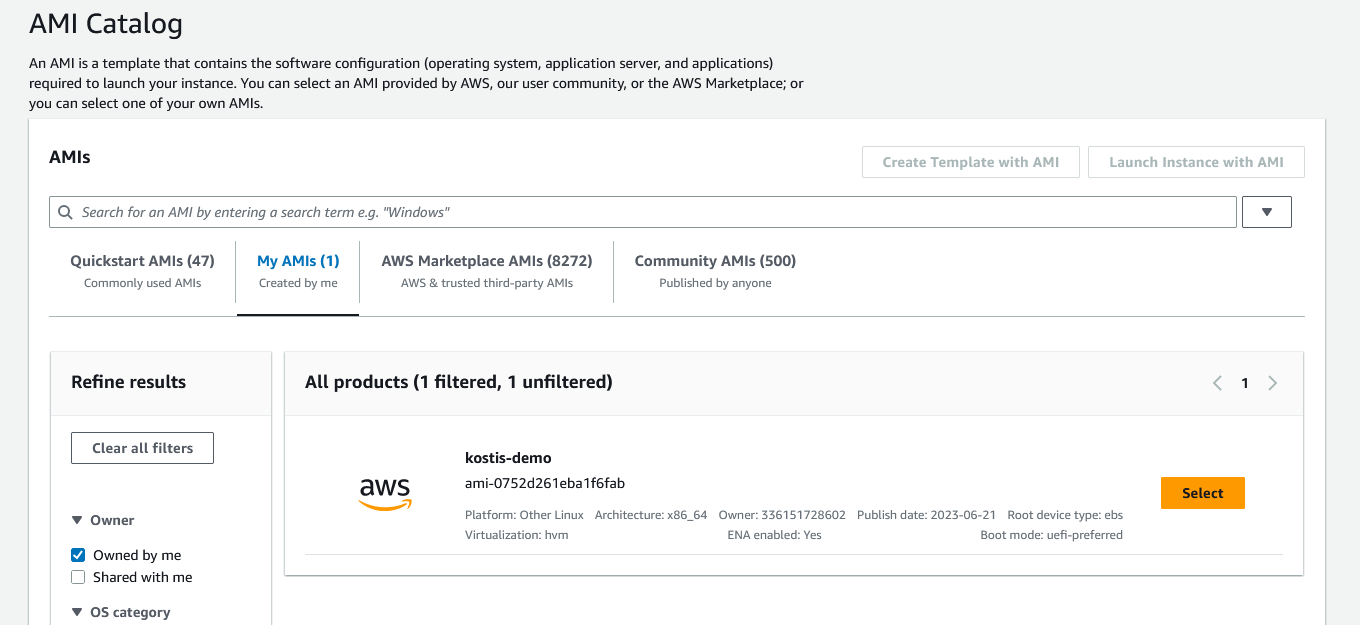
We will however automate those steps with a Codefresh pipeline as we will see later in this section.