Connect your EKS Cluster
Sign up for a Codefresh account (or visit your existing one) and at the top of the main you will see the onboarding process which needs just 3 simple steps
- Enabling the hosted Runtime offering (needs to be done only once)
- Adding your Git provider (or using an existing one)
- Adding one or more clusters that will be used as deployment targets.

Note that the deployment clusters of the last step hold only your desired applications. The ArgoCD instance that is used behind the scenes is fully managed by Codefresh (and automatically updated and secured).
Creating the hosted runtime
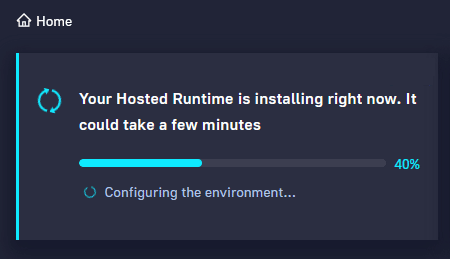
Navigate to Home Dashboard on left panel. First click the Install button on the top left card of the welcome wizard. The hosted runtime will be enabled in your account in a few minutes. The progress bar will also become visible so that you have more visibility in the initialization process.
Once the hosted runtime is enabled you will have a new runtime in your account with type “hosted”.

If you click on the runtime you will see the individual components it contains. These include enterprise versions of the Argo projects, plus extra internal components.
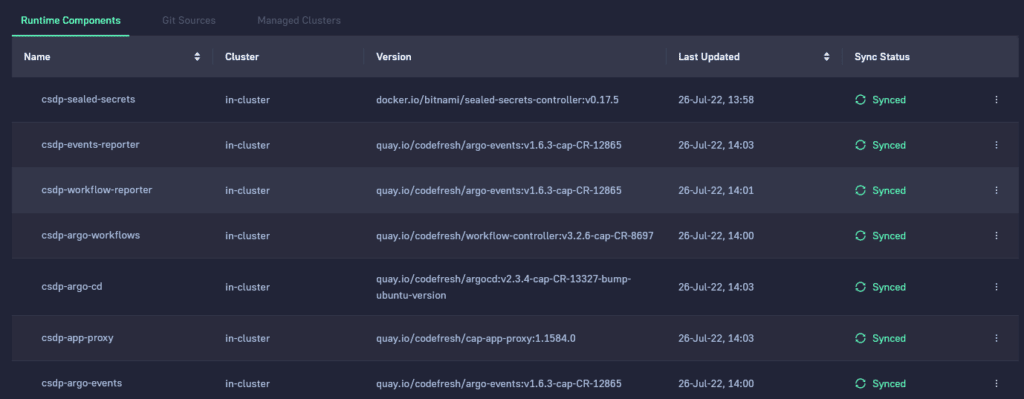
Remember that all these components are fully managed by Codefresh in an automated manner. They are shown to you for verification purposes but you don’t need to worry about maintaining them.
Connecting your Git Provider
The next step is to add a new Git provider (or use an existing one if you have one in your Codefresh accounts). One of the basic tenets of GitOps is the fact that everything should be stored in Git, including application configuration and other Argo related information.
Every action that you see in the Codefresh User interface results in a Git commit once you press the apply/save button.
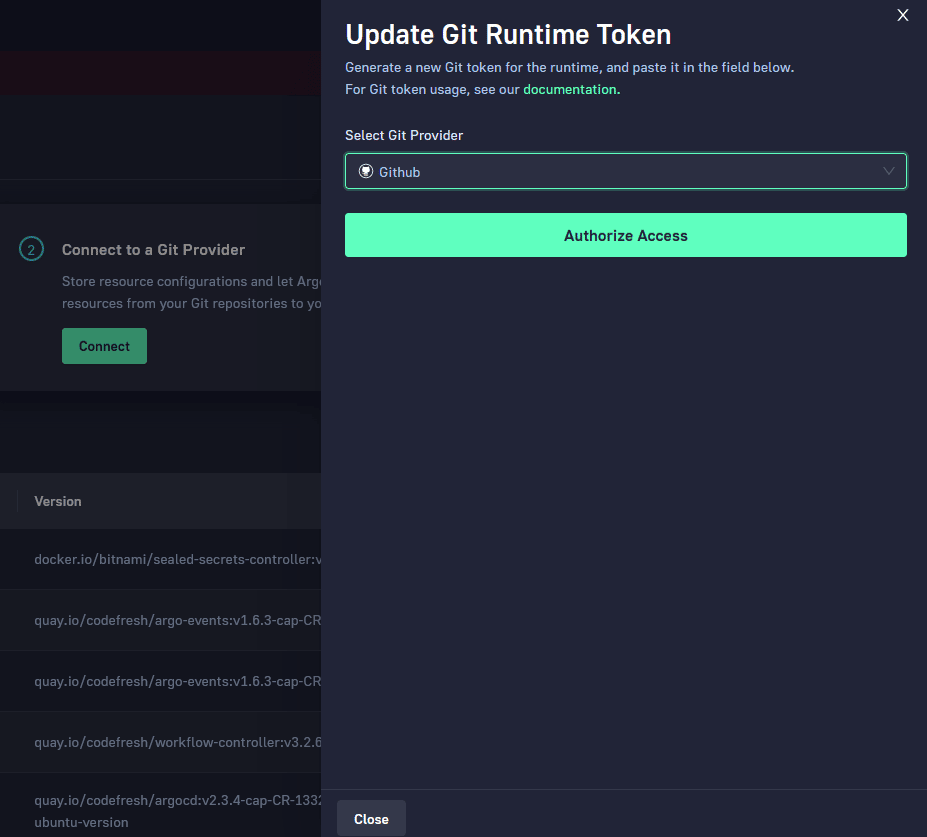
Click the Connect button in the second card of the welcome wizard. Select the Git provider that will store all information for both the cluster itself as well as the applications.
Codefresh will now show you which Git repositories it will create.

By default 2 repositories will be created in your account.
The first one is holding information about the runtime itself (cluster, secrets, 3rd party integrations). The second one is holding the applications that you deploy. See https://argo-cd.readthedocs.io/en/stable/operator-manual/declarative-setup/ for more information.
Note that under normal circumstances you are not expected to interact manually with these Git repositories.
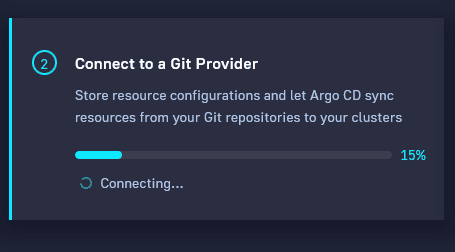
After you press the Create button a similar progress bar will appear that monitors the creation of the required Git repositories in your Git provider.
With the Git integration out of the way, we are now ready to select the destination cluster(s) for deployments.
Adding your EKS cluster as a deployment target
The last card in the welcome wizard seen on the main screen is about adding a target cluster. Choose the Connect button on the card.

The process of adding a target cluster is similar to Argo CD. You need the Codefresh CLI installed and a local kubeconfig.
Authenticate with the CLI if you haven’t done so already and then simply run the command shown on the screen instructions cf cluster add codefresh-hosted
Once the process is finished, you will see your cluster under Managed Clusters. You can repeat the same process with additional clusters that you want to use as deployment targets.

An exciting Codefresh feature is the topology view. You can find it under the Runtime screen. It presents you with a graphical representation of your infrastructure showing all your deployments clusters along with the Argo/Codefresh control plane.

You are now ready to start your first deployment.